Subsections of Midi and Audio Recording
Record Midi in Session View
Basic Steps
The Ableton manual dives into every aspect of recording new clips in the session view and the arrangement view. Three steps are necessary for recording midi or audio1 clips:
- choose an input
- arm a track
- record (into session or arrangement view)
We will illustrate the process of recording midi clips in the session view (ableton calls this recording into session slots).
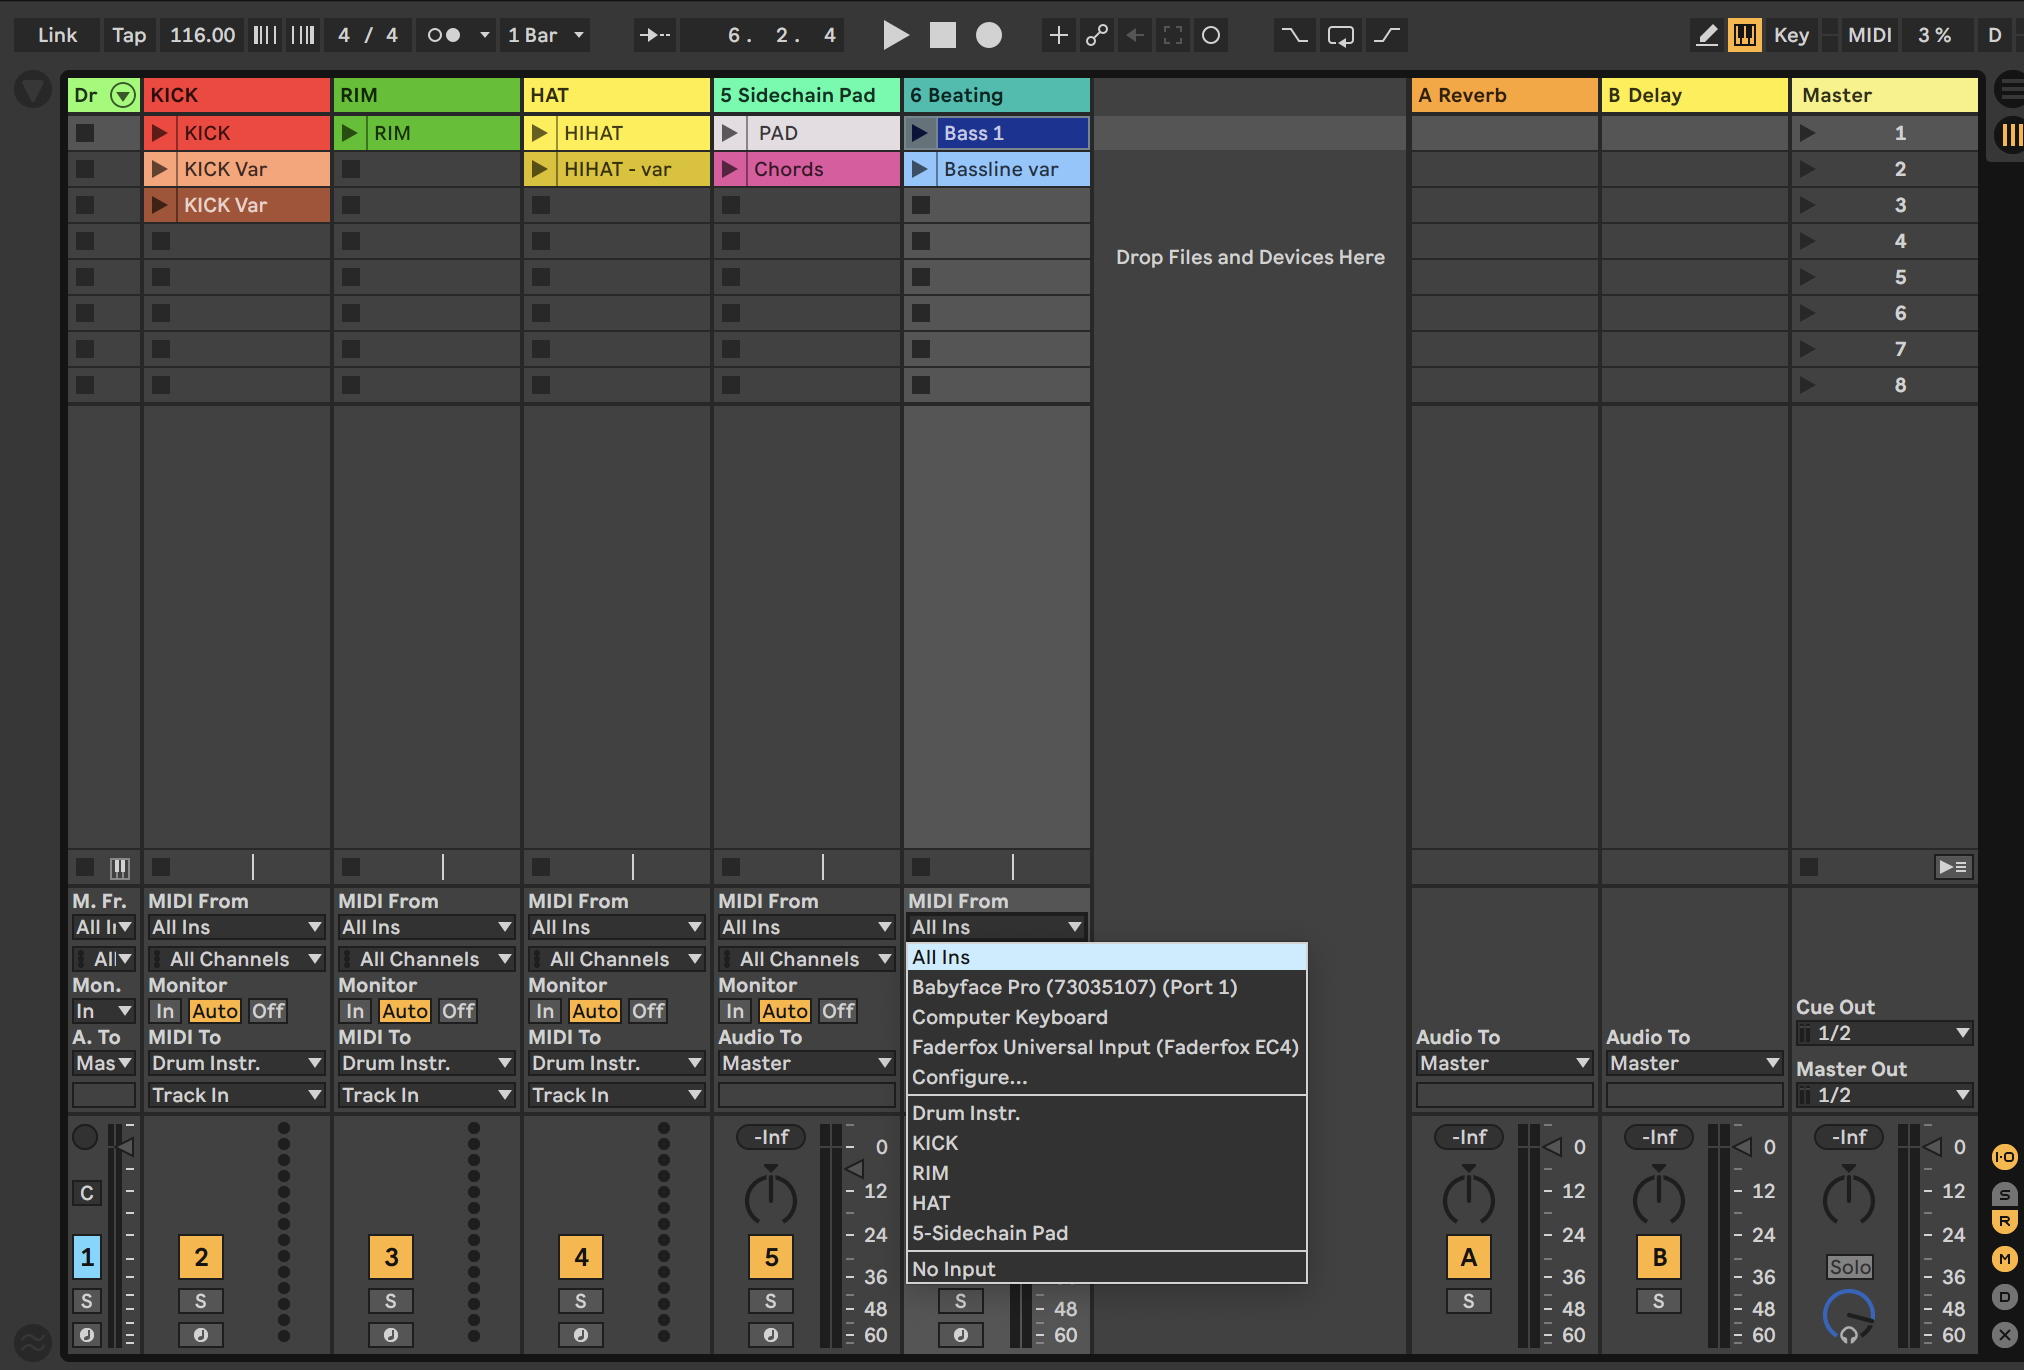
1.) chose an input
On track 6 click on midi from. for now leave it on all ins.
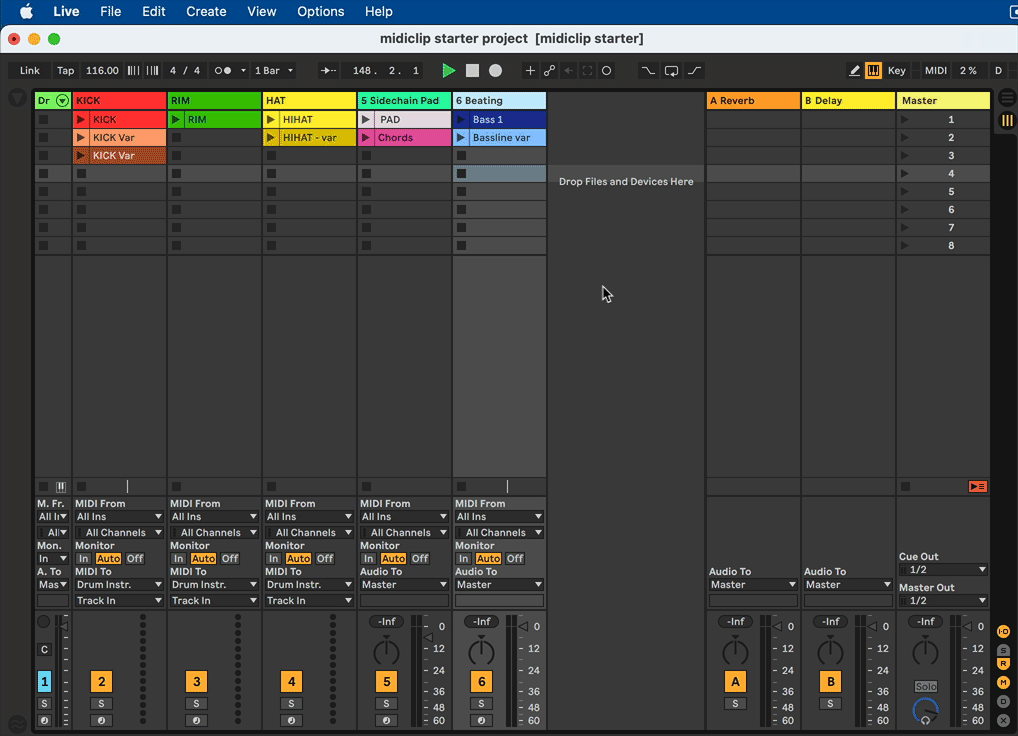
2.) arm a track
3.) record
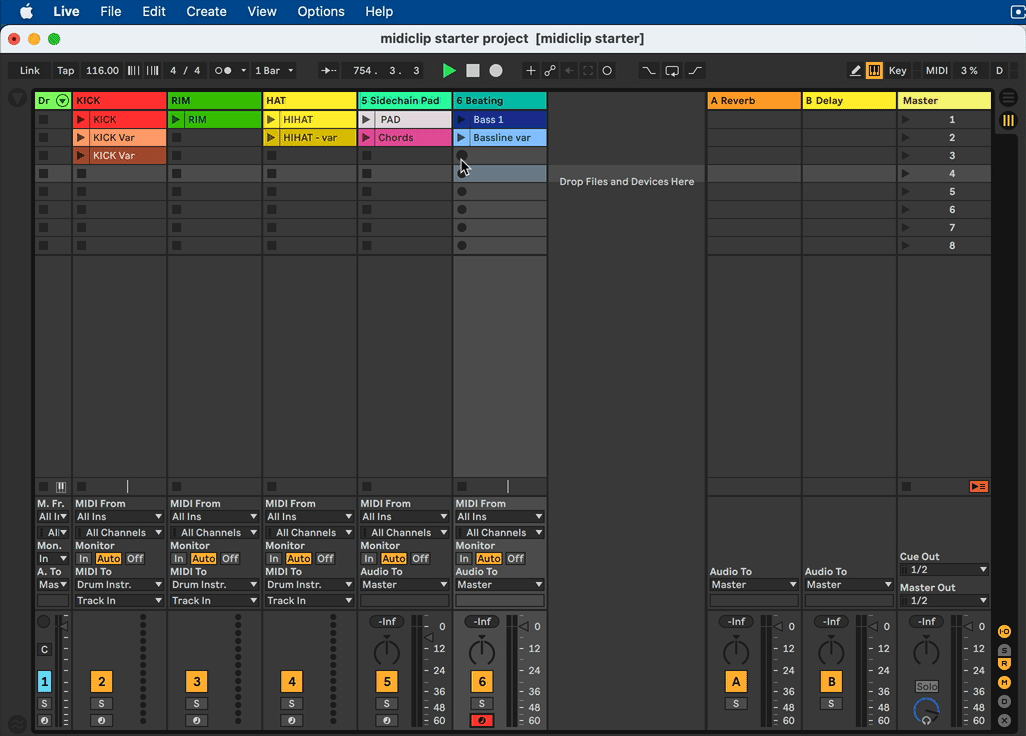
Instead of using the stop button in the control bar you can also press the clip stop button.

On music software and software in general …
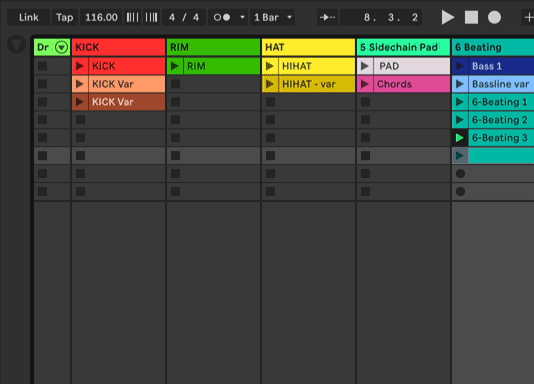
You should now have recorded your first midi clip into a slot but it’s very likely that some unexpected things happened (clip went into play mode, record started immediately with no count-in, etc.). This is a good example of how software aims at making the user perform a series of steps while also giving him the freedom to find his own approach. Check the linked video below on how an official Ableton video shows a different approach on how to record clips then the manual pages.
Options to explore
Play notes on your computer keyboard
- black piano keys: top Row
QWE - white keys: center row
ASDF - velocity:
CV - transpose range:
ZX
Activate with the Computer MIDI Keyboard button:

Use the metronome
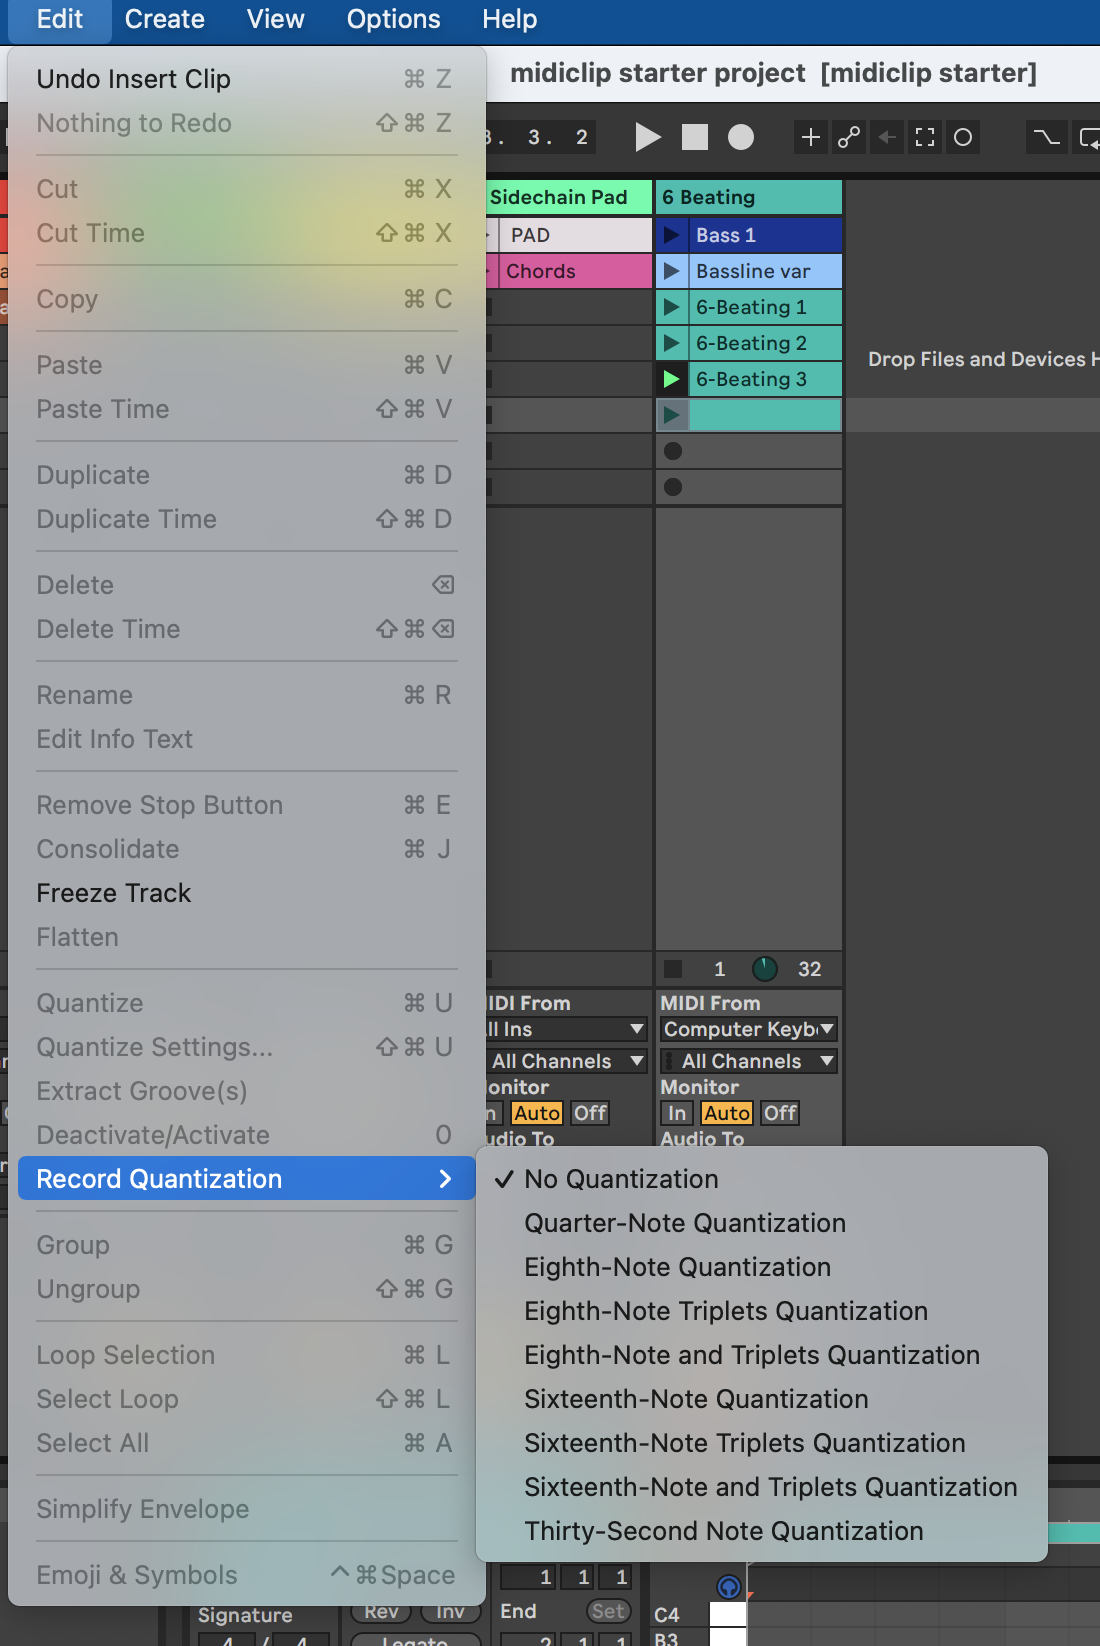
Use Record Quantise
Capture
Play something on a record armed track without starting the main record button or a clip record butoon, then click on the capture button:

Resources
For a quick reference on further options:
For an overview of music formats please refer to computer audio basics on musescore.peckels.com. ↩︎
Record Audio in Arrangement View
The Ableton Manual offers a precise overview for recording in arrangement view (introduces it before session view) and suggests a workflow (after the 3 first basic steps: chose an input, arm, record).
Audio Recording Fundamentals
Please refer to the following topics for a deeper look in audio recording in Live:
- Setting up an Audio Interface
- Changing the buffer size/sample rate of an ASIO Audio Interface
- Routing and I/O
Also consider this knowledge base post on how to reduce latency and an article by Focusrite, manufacturer of the well known Scarlett usb audio card range, Latency Issues with Interfaces
For a basic audio recording process follow these steps:
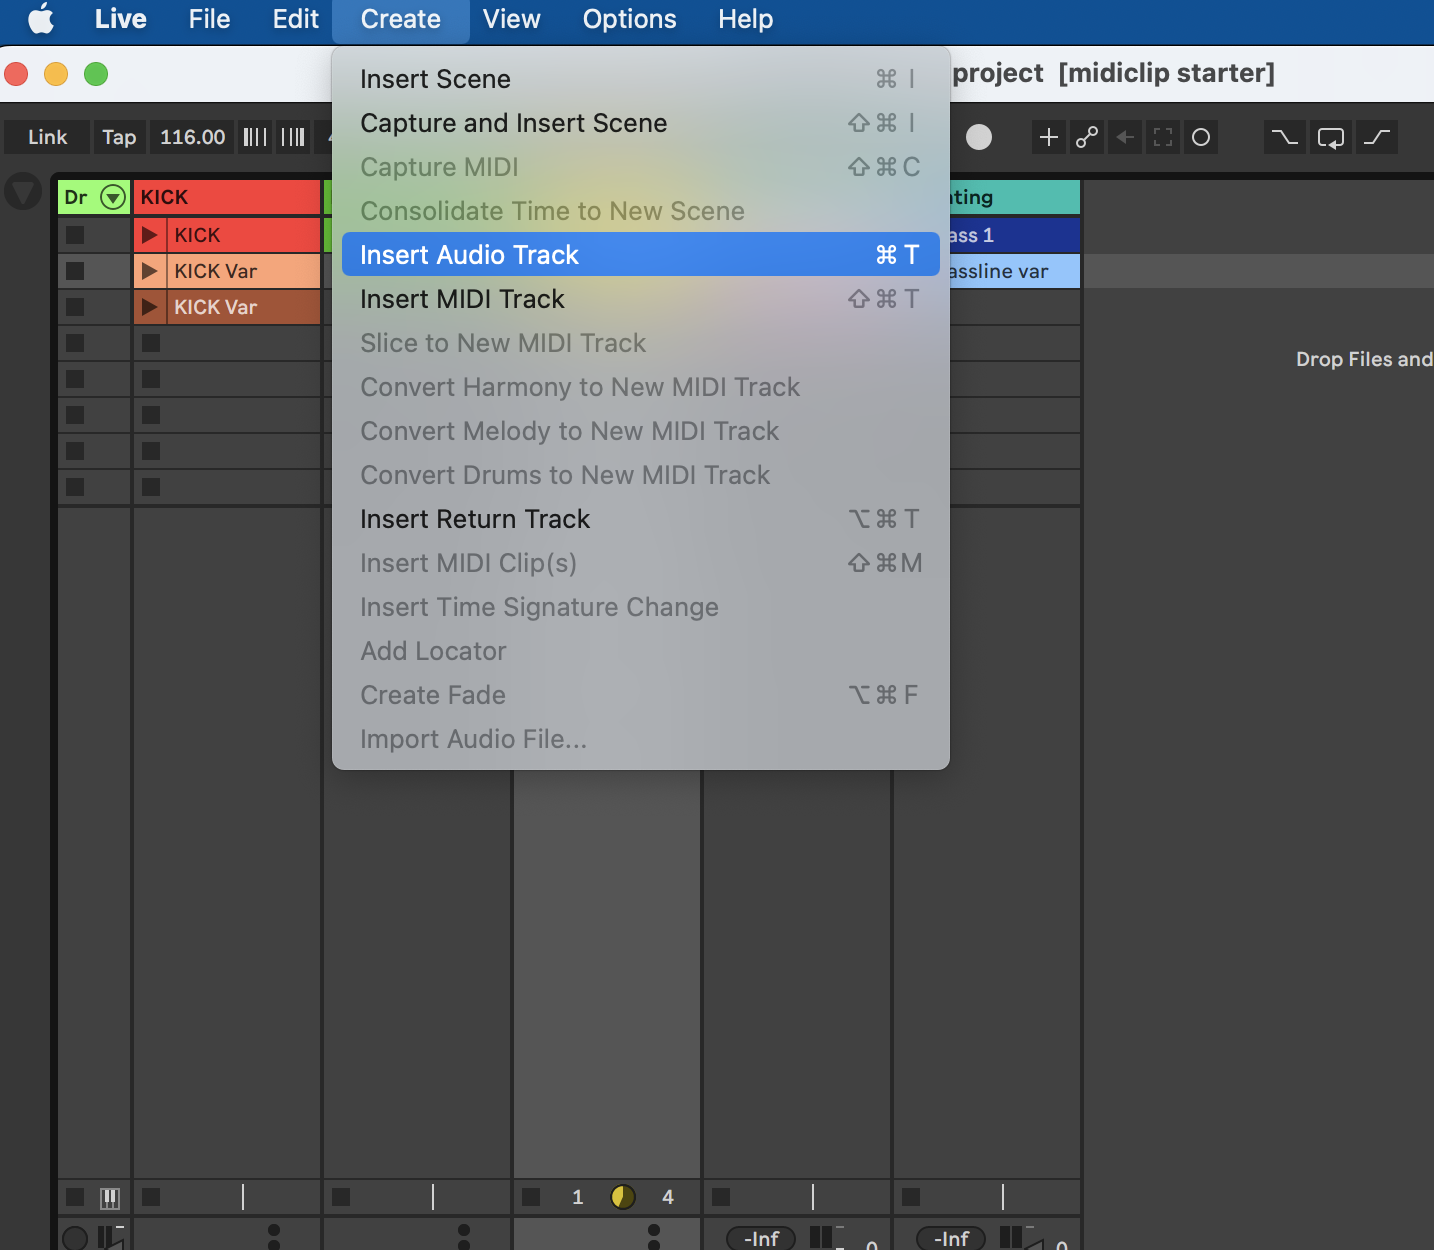
1.) insert an audio track
2.) chose a source and arm

(Demo) Please follow the steps for your specific sound card and setup and refer to this chapter Monitoring in Live:
“Monitoring means that you’re receiving a signal from an input source (which could be an audio input on audio tracks, or a MIDI input on MIDI tracks), processing it with effects (if required), then passing that signal to the track’s output where you can listen to it on your speakers or headphones.”
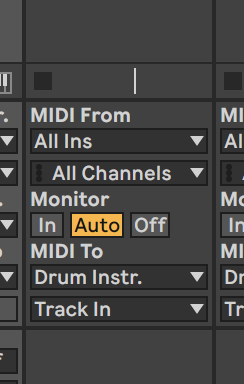
When should the monitor be set to “In” or “Auto”?
- If you prefer to monitor through Live.
- If you want process the monitored signal with effects while playing back/recording.
- If you have no other way to monitor (no interface with direct monitoring, no external mixing desk).
When should the monitor be set to “Off”?
- If you’re using direct monitoring. Direct monitoring is a function of certain audio interfaces
- If you’re monitoring through an external mixing desk.
- If you can hear the source already without a need for monitoring (eg. an acoustic guitar or your voice).
- If you’re monitoring the source already through another track in the Live set, and are recording the same signal to a separate track. For example when working with external hardware and recording the audio directly to another track.
Also cf. What is direct monitoring? on the magic between software monitoring and direct, latency free monitoring on a Scarlett Solo or 2i2 card.
3.) record
Explore the control bar options (besides the record and stop button 😺):

- a) loop recording will retain the audio recorded during each pass.
- b) punch in punch out to specify the section that will be used for recording. Use
 the
the Arrangement Loop