Subsections of Ableton Overview
Your first set
Download an open the following Ableton live set
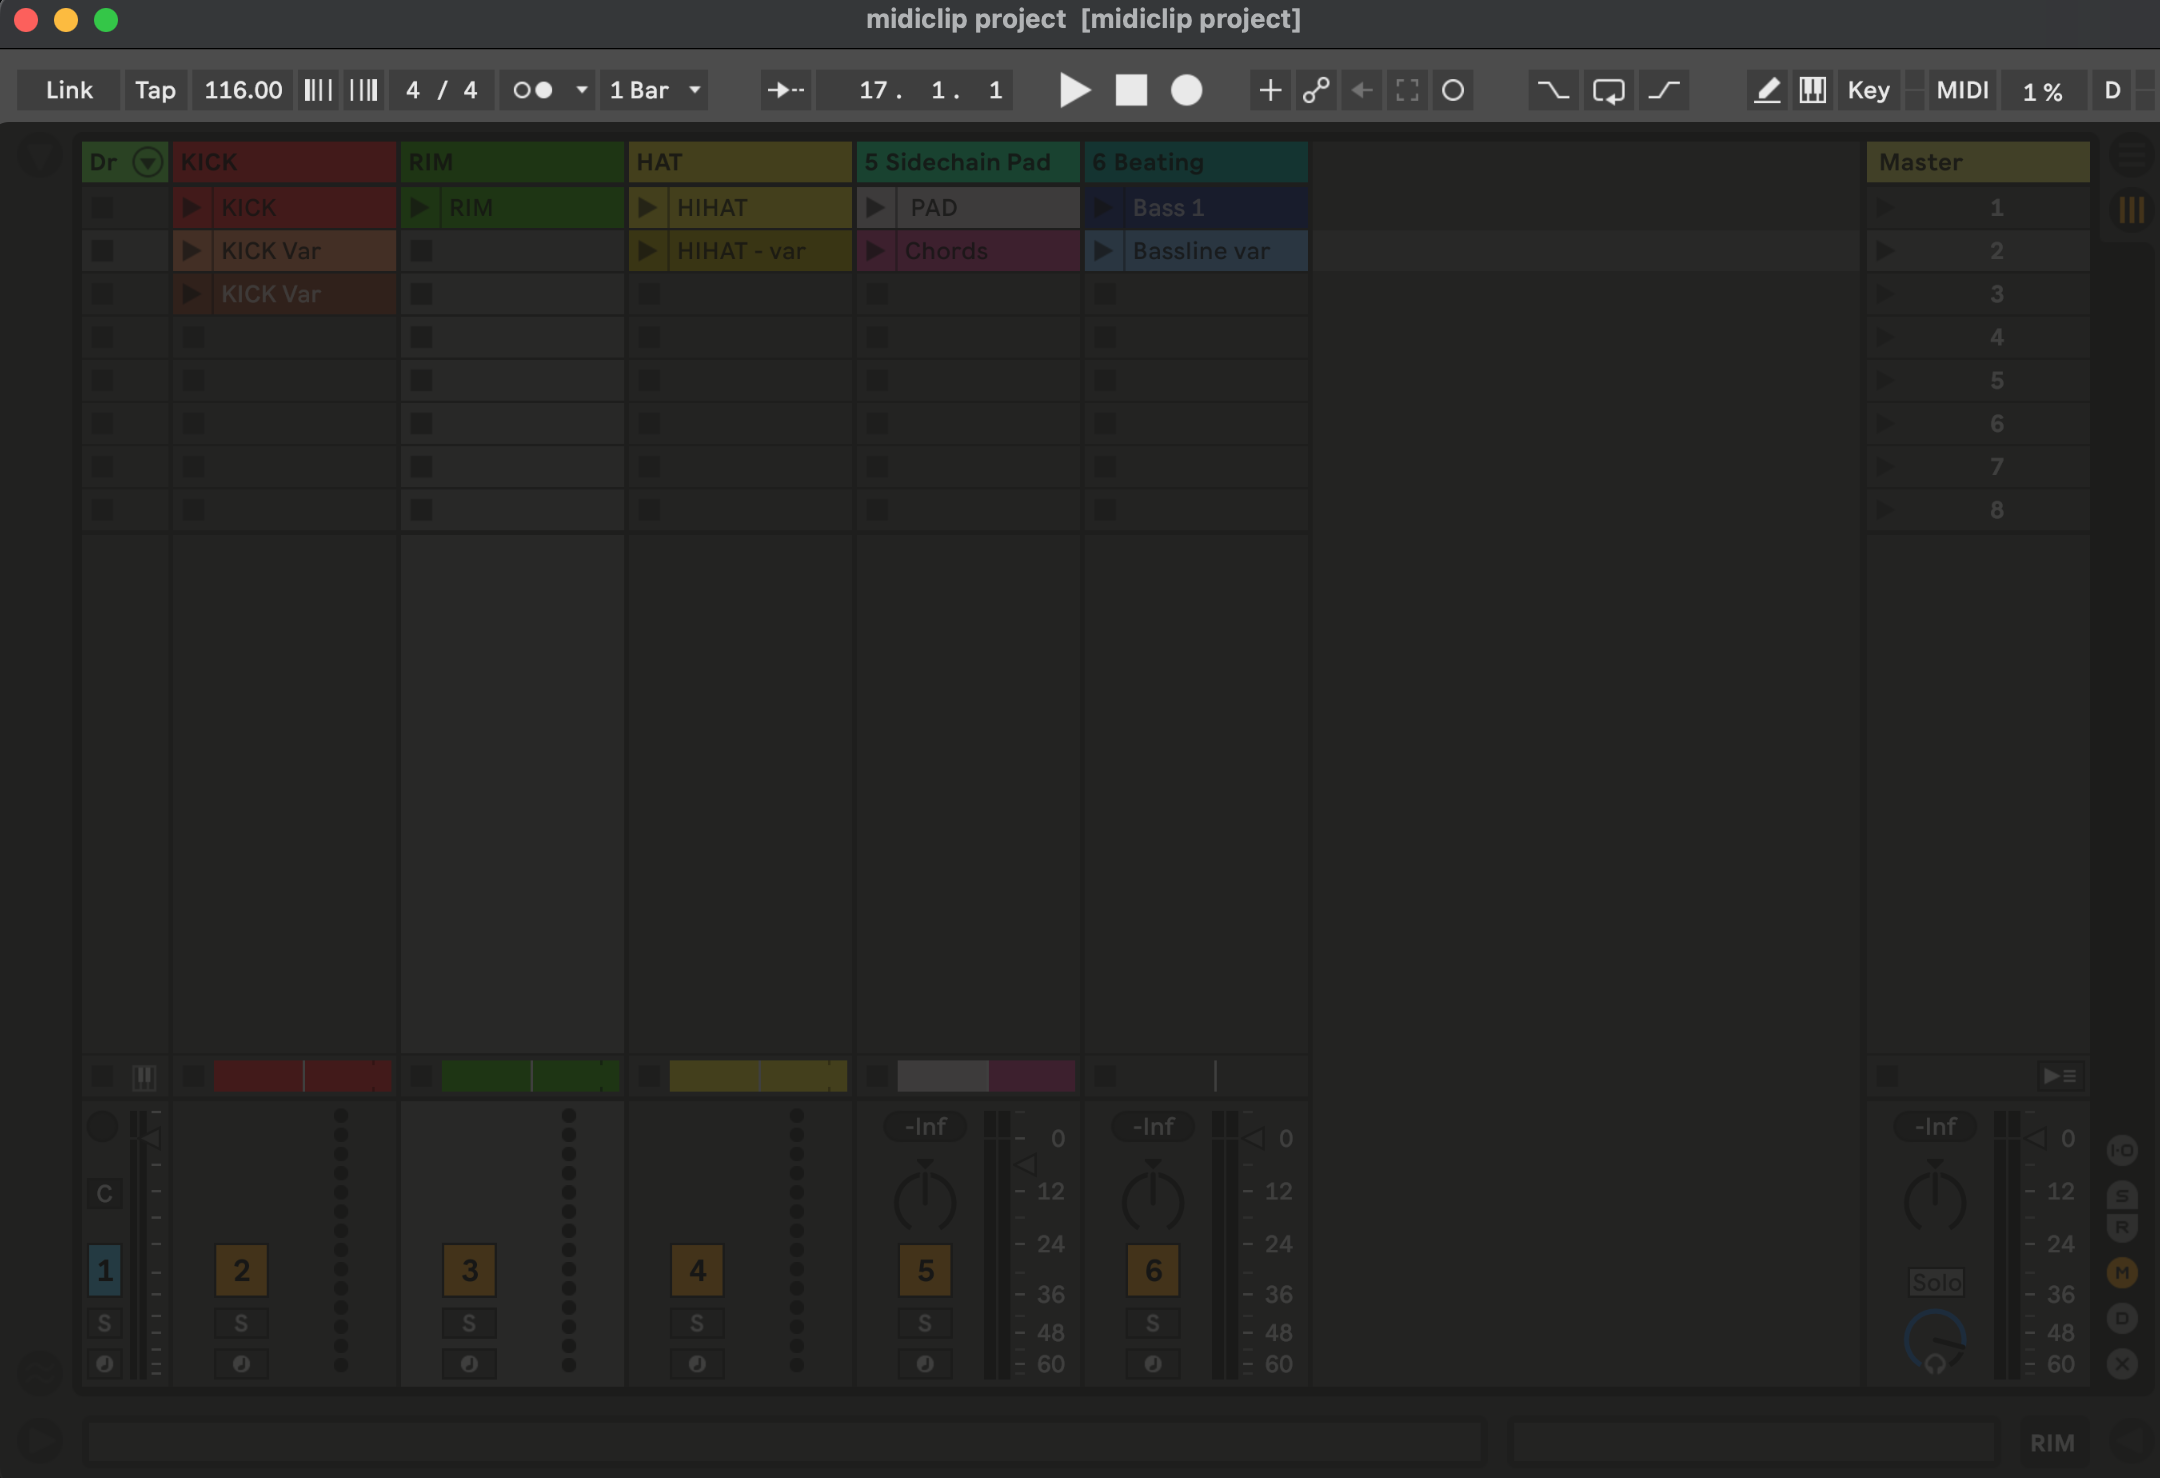
Please download the first archive file midiclip starter Project.zip and open it in Ableton Live.
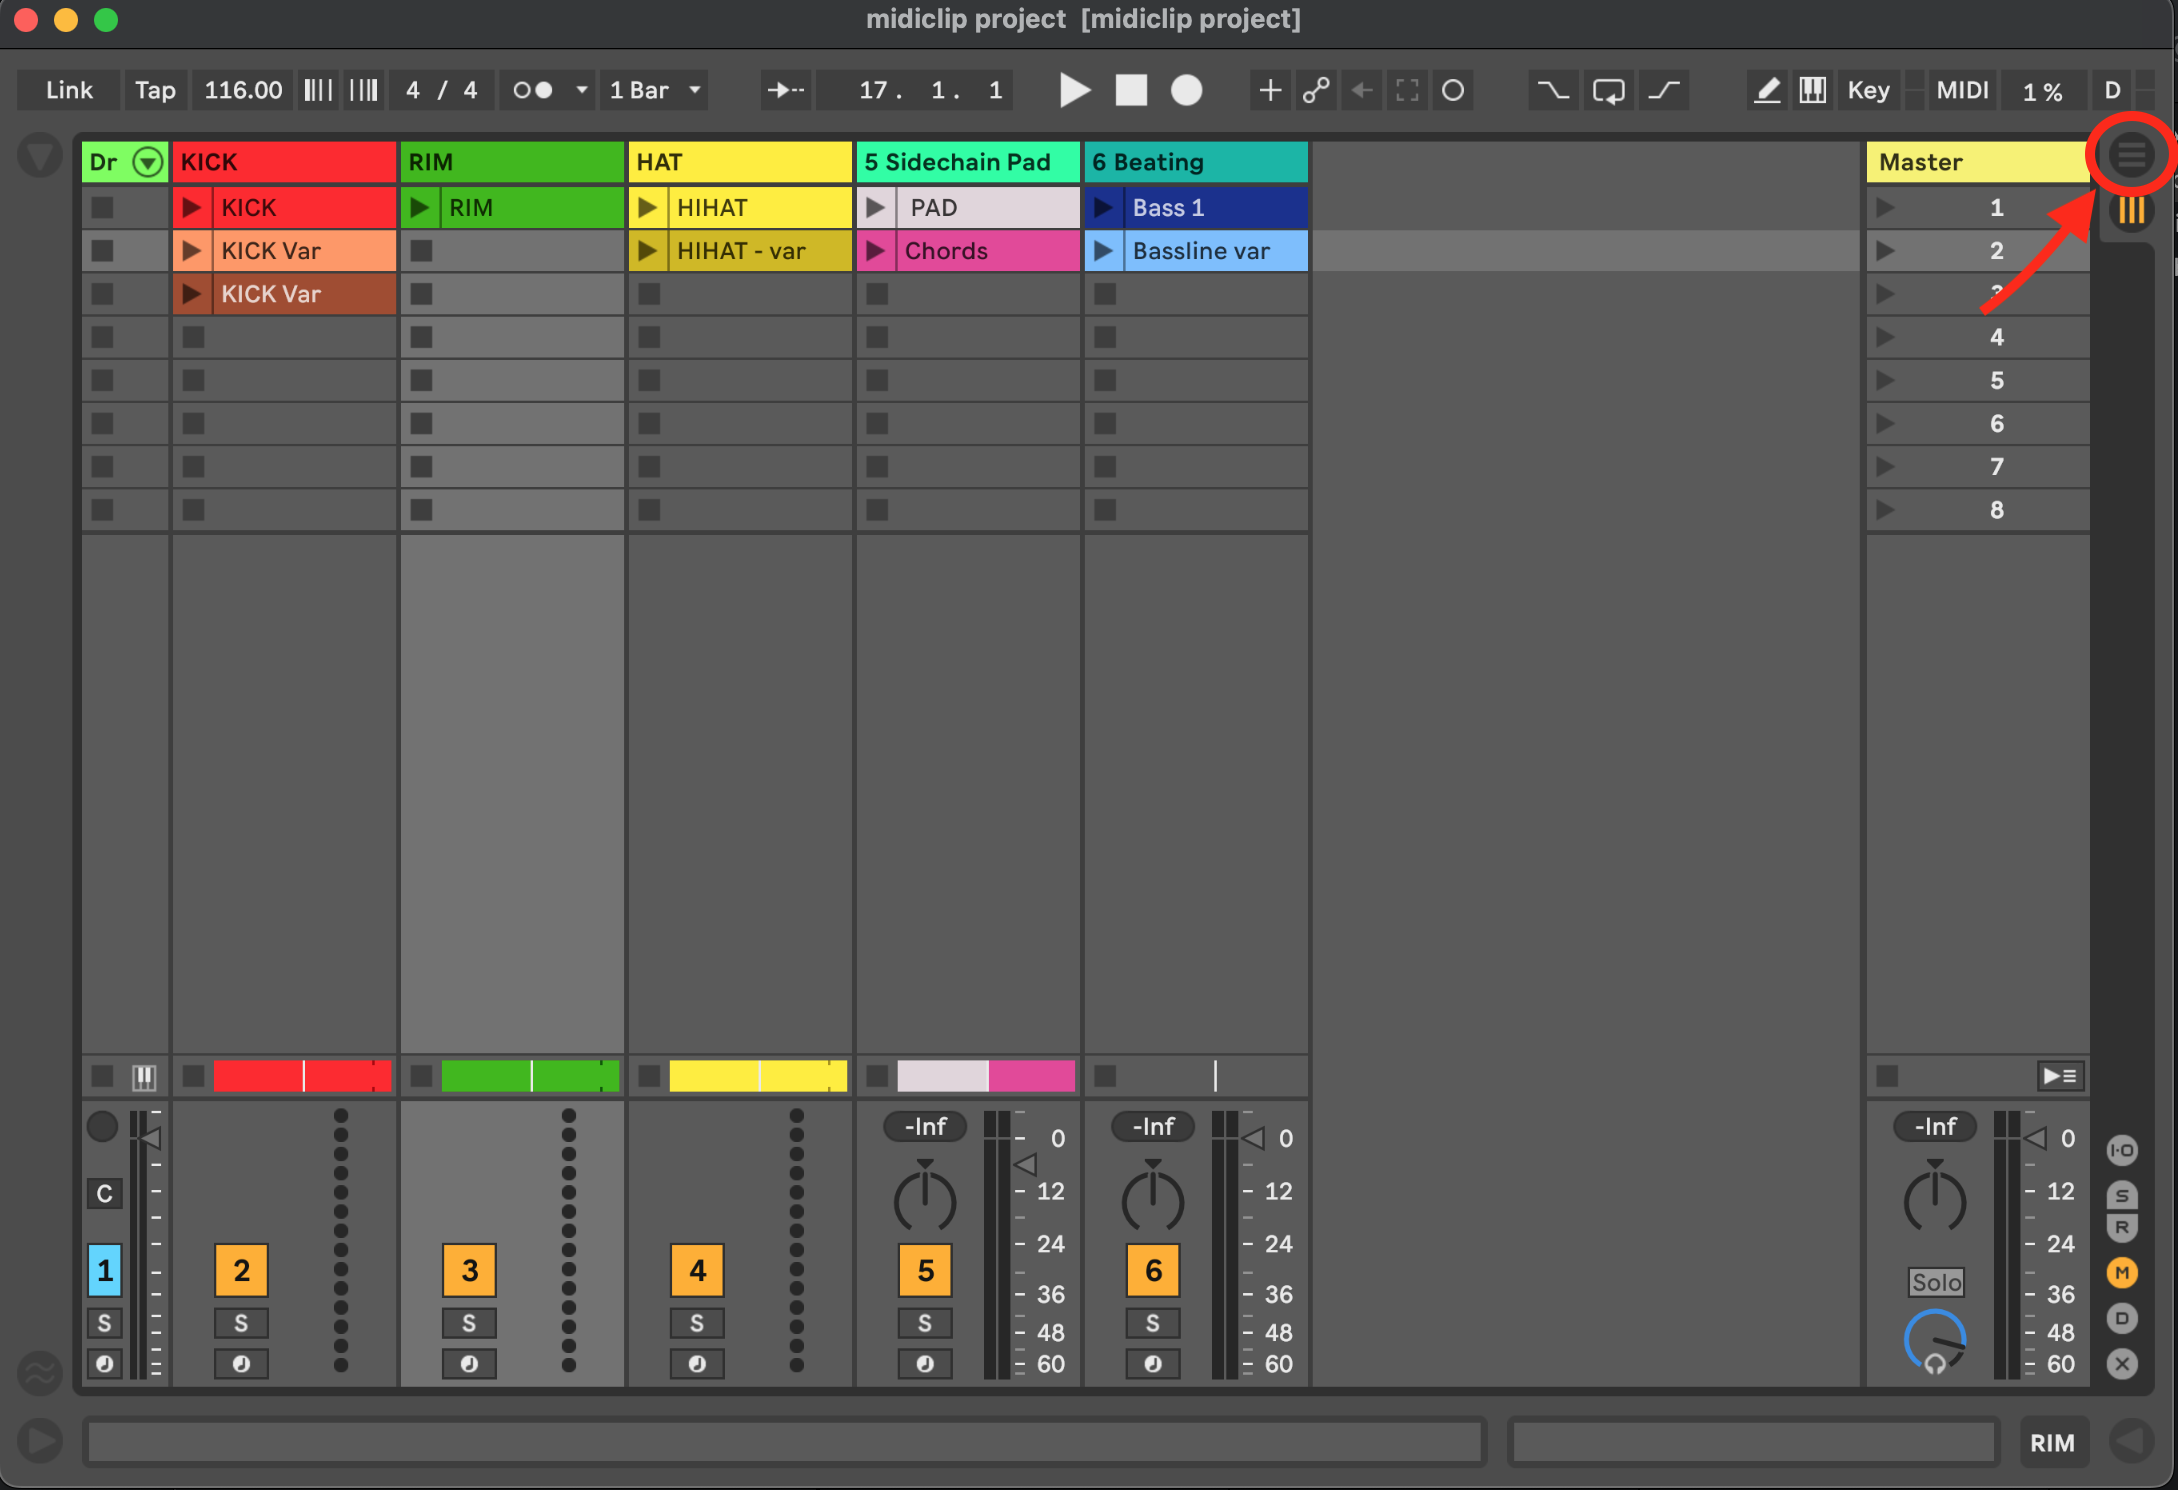
Midi Clips Project

Performing in Session View
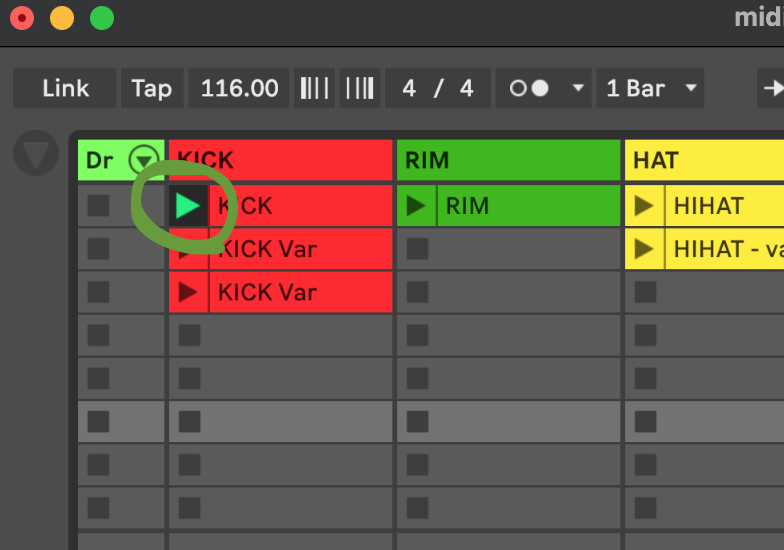
Start individual clips
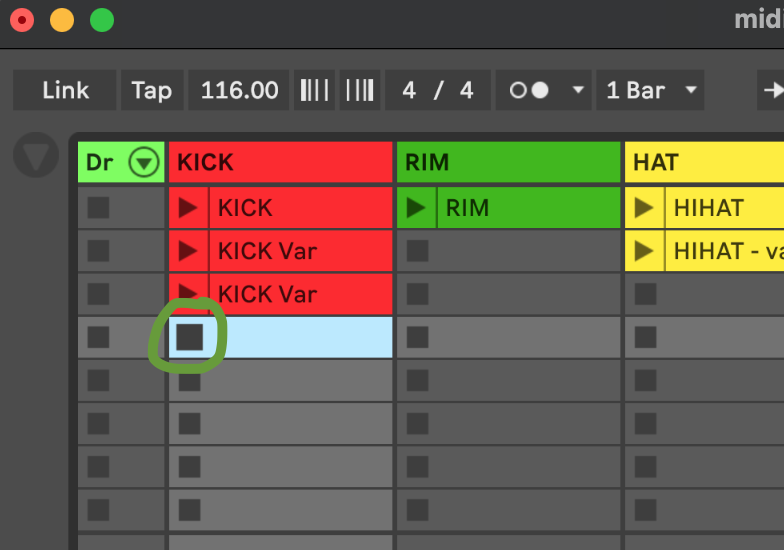
Play around with starting and stopping clips (parts):
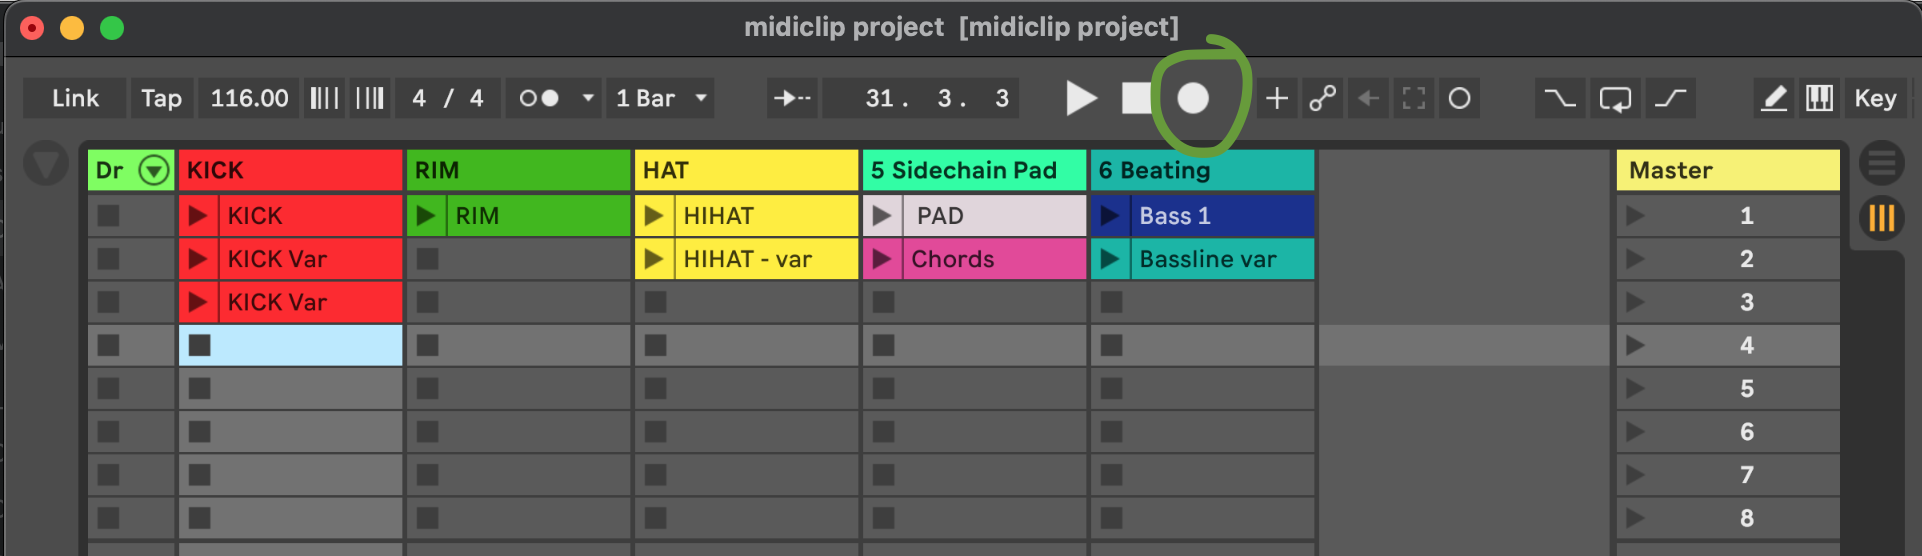
Record your performance
When you found an order you liked, press the Session record button and do a performance:
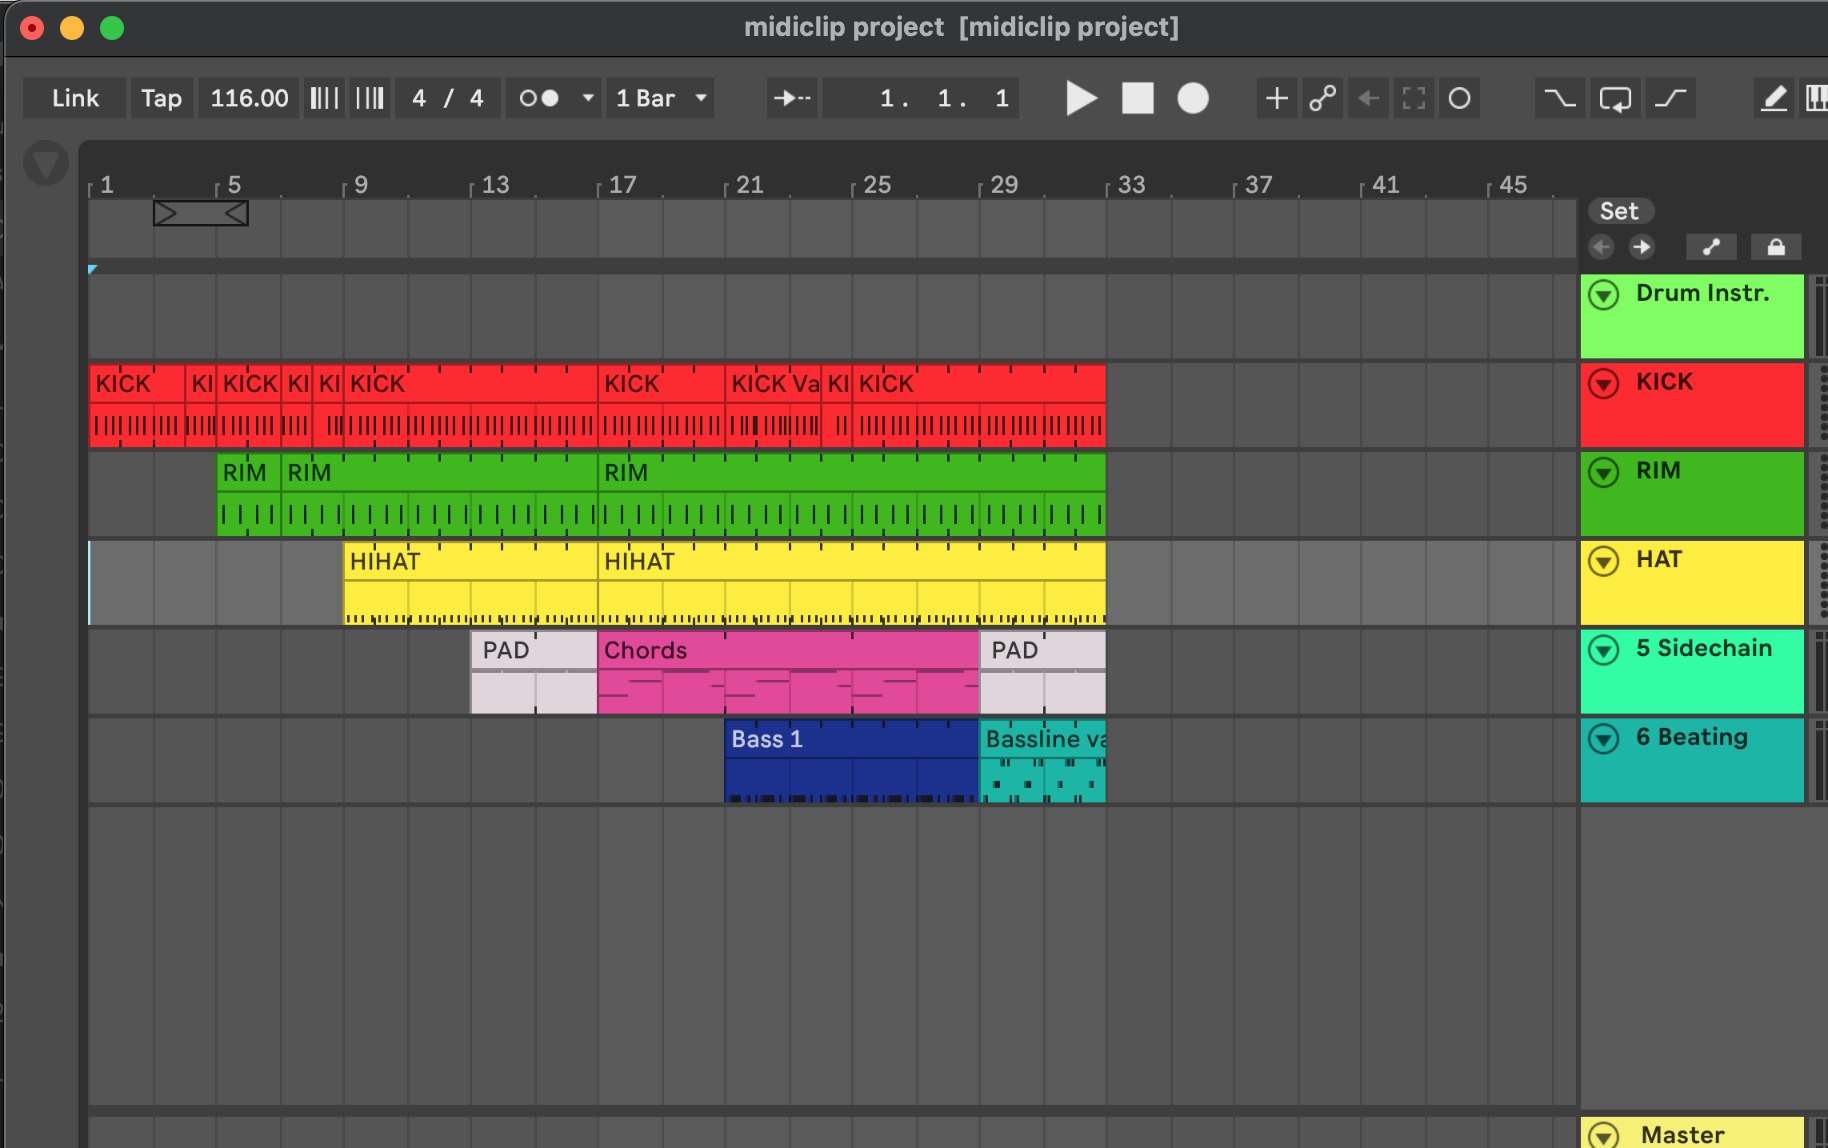
Let’s move on and have a look at the arrangement view where your performance was recorded:
Tip
One of the most usefeul shortcuts in Ableton is the tab marked ⇥ on your keyboard. It allows you to quickly cycle between session and arrangement view.
Editing in Arrangement View
Edit your recorded performance
Switch to arrangement view by using the tab key ⇥ to see the result of your performance.
Click the Back to Arrangement icon (F10) to
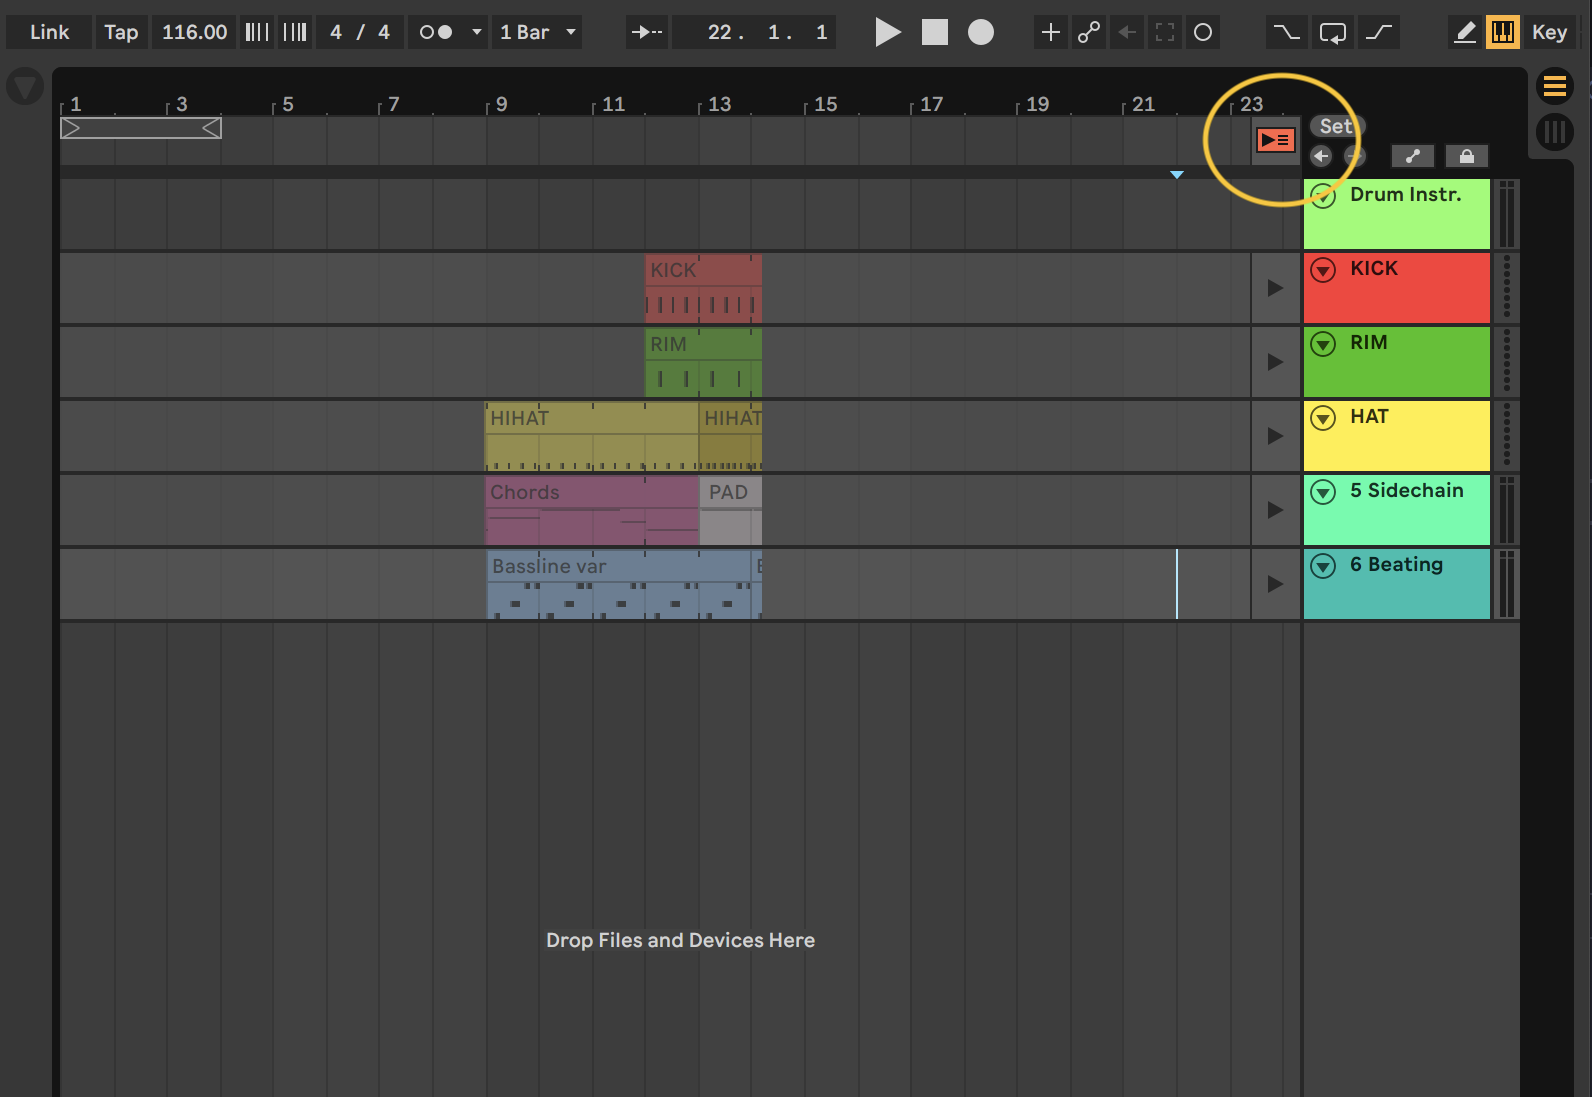
“Arrangement playback does not resume until you explicitly tell Live to resume by clicking the Back to Arrangement button, which appears in the Arrangement View and lights up to remind you that what you hear differs from the Arrangement.” (cf. manual Recording Sessions into the Arrangement)
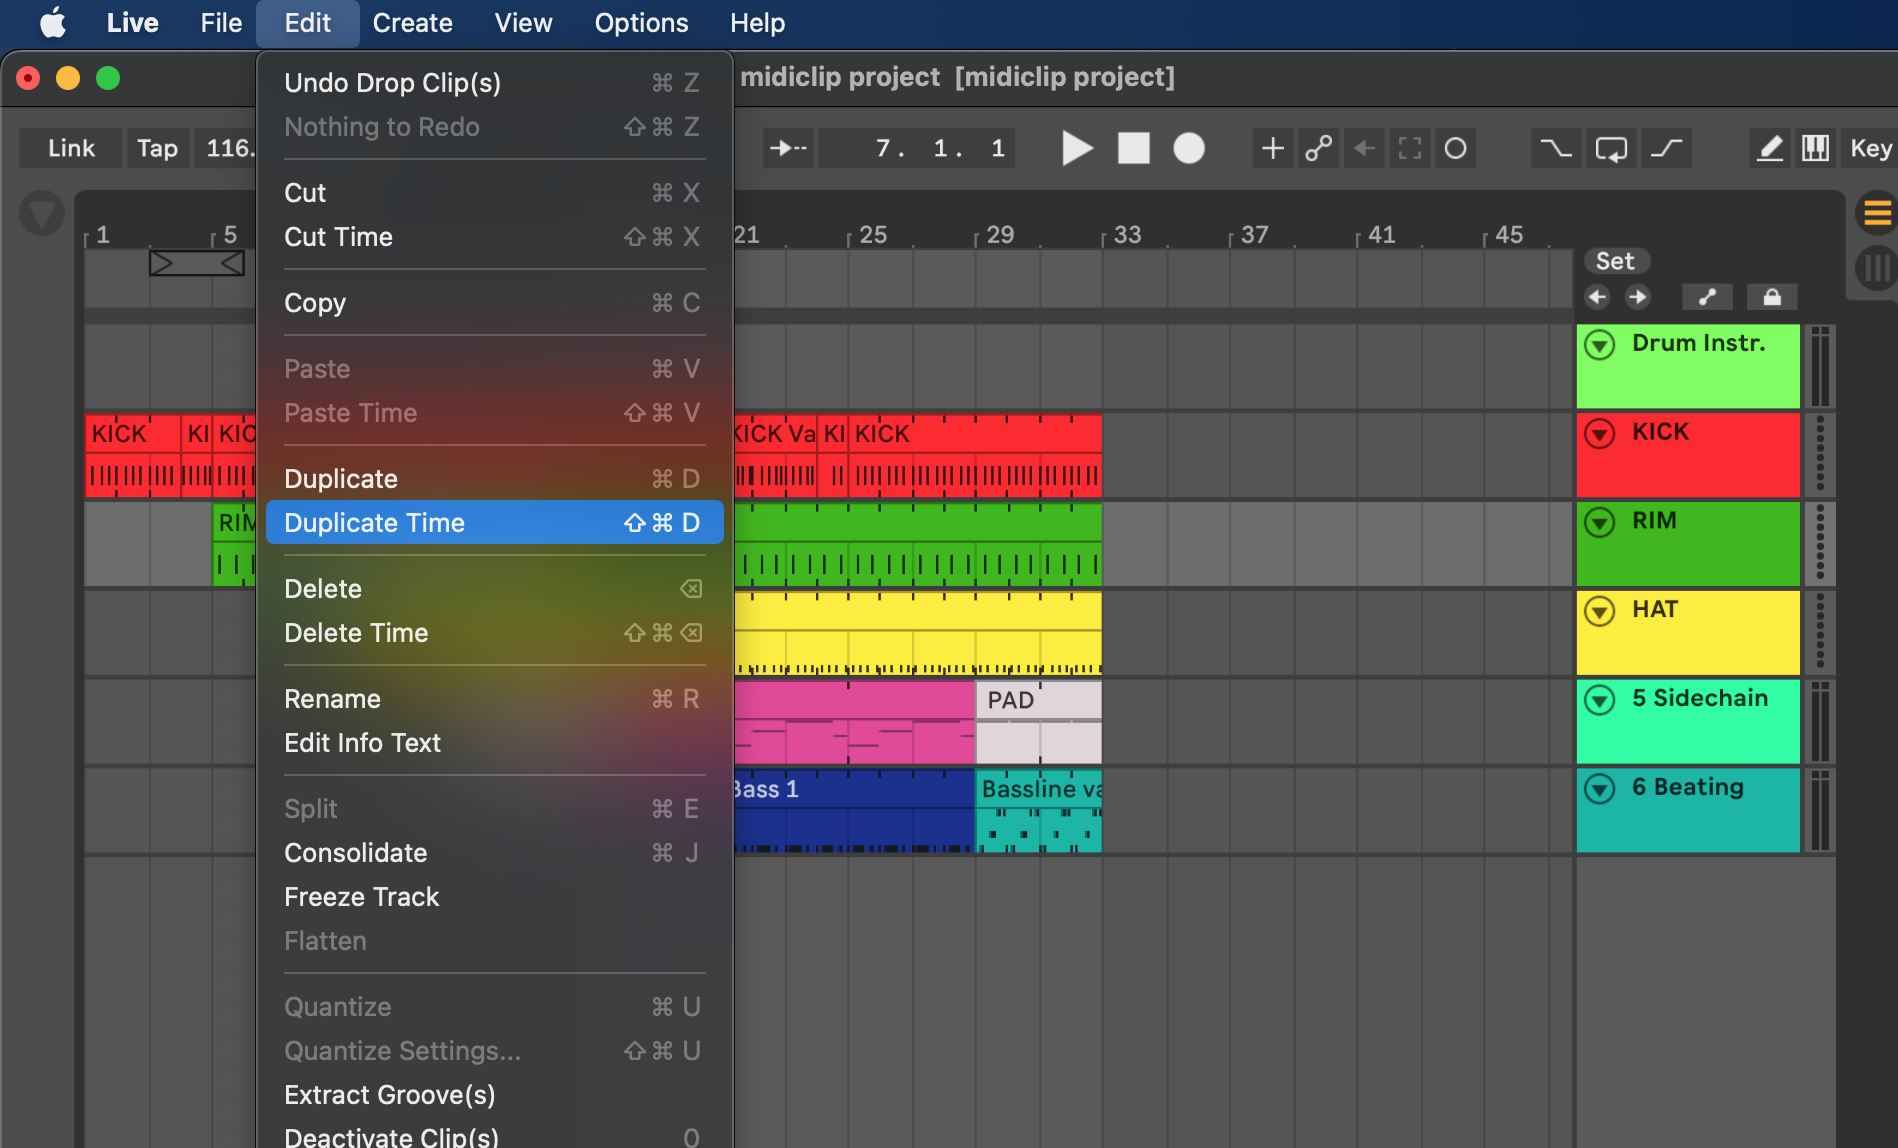
You can edit the lengths of the individual loops by simple grabbing and dragging the edges of the parts.
You can also select multiple parts and change them all at once.
To lengthen a part use Edit -> Duplicate Time to duplicate the selection and move everything to the right. (Insert Edit)
You can also do the opposite: select a region, use Delete Time and everything will move to the left.
Interface Walkthrough
Main Screens and Buttons
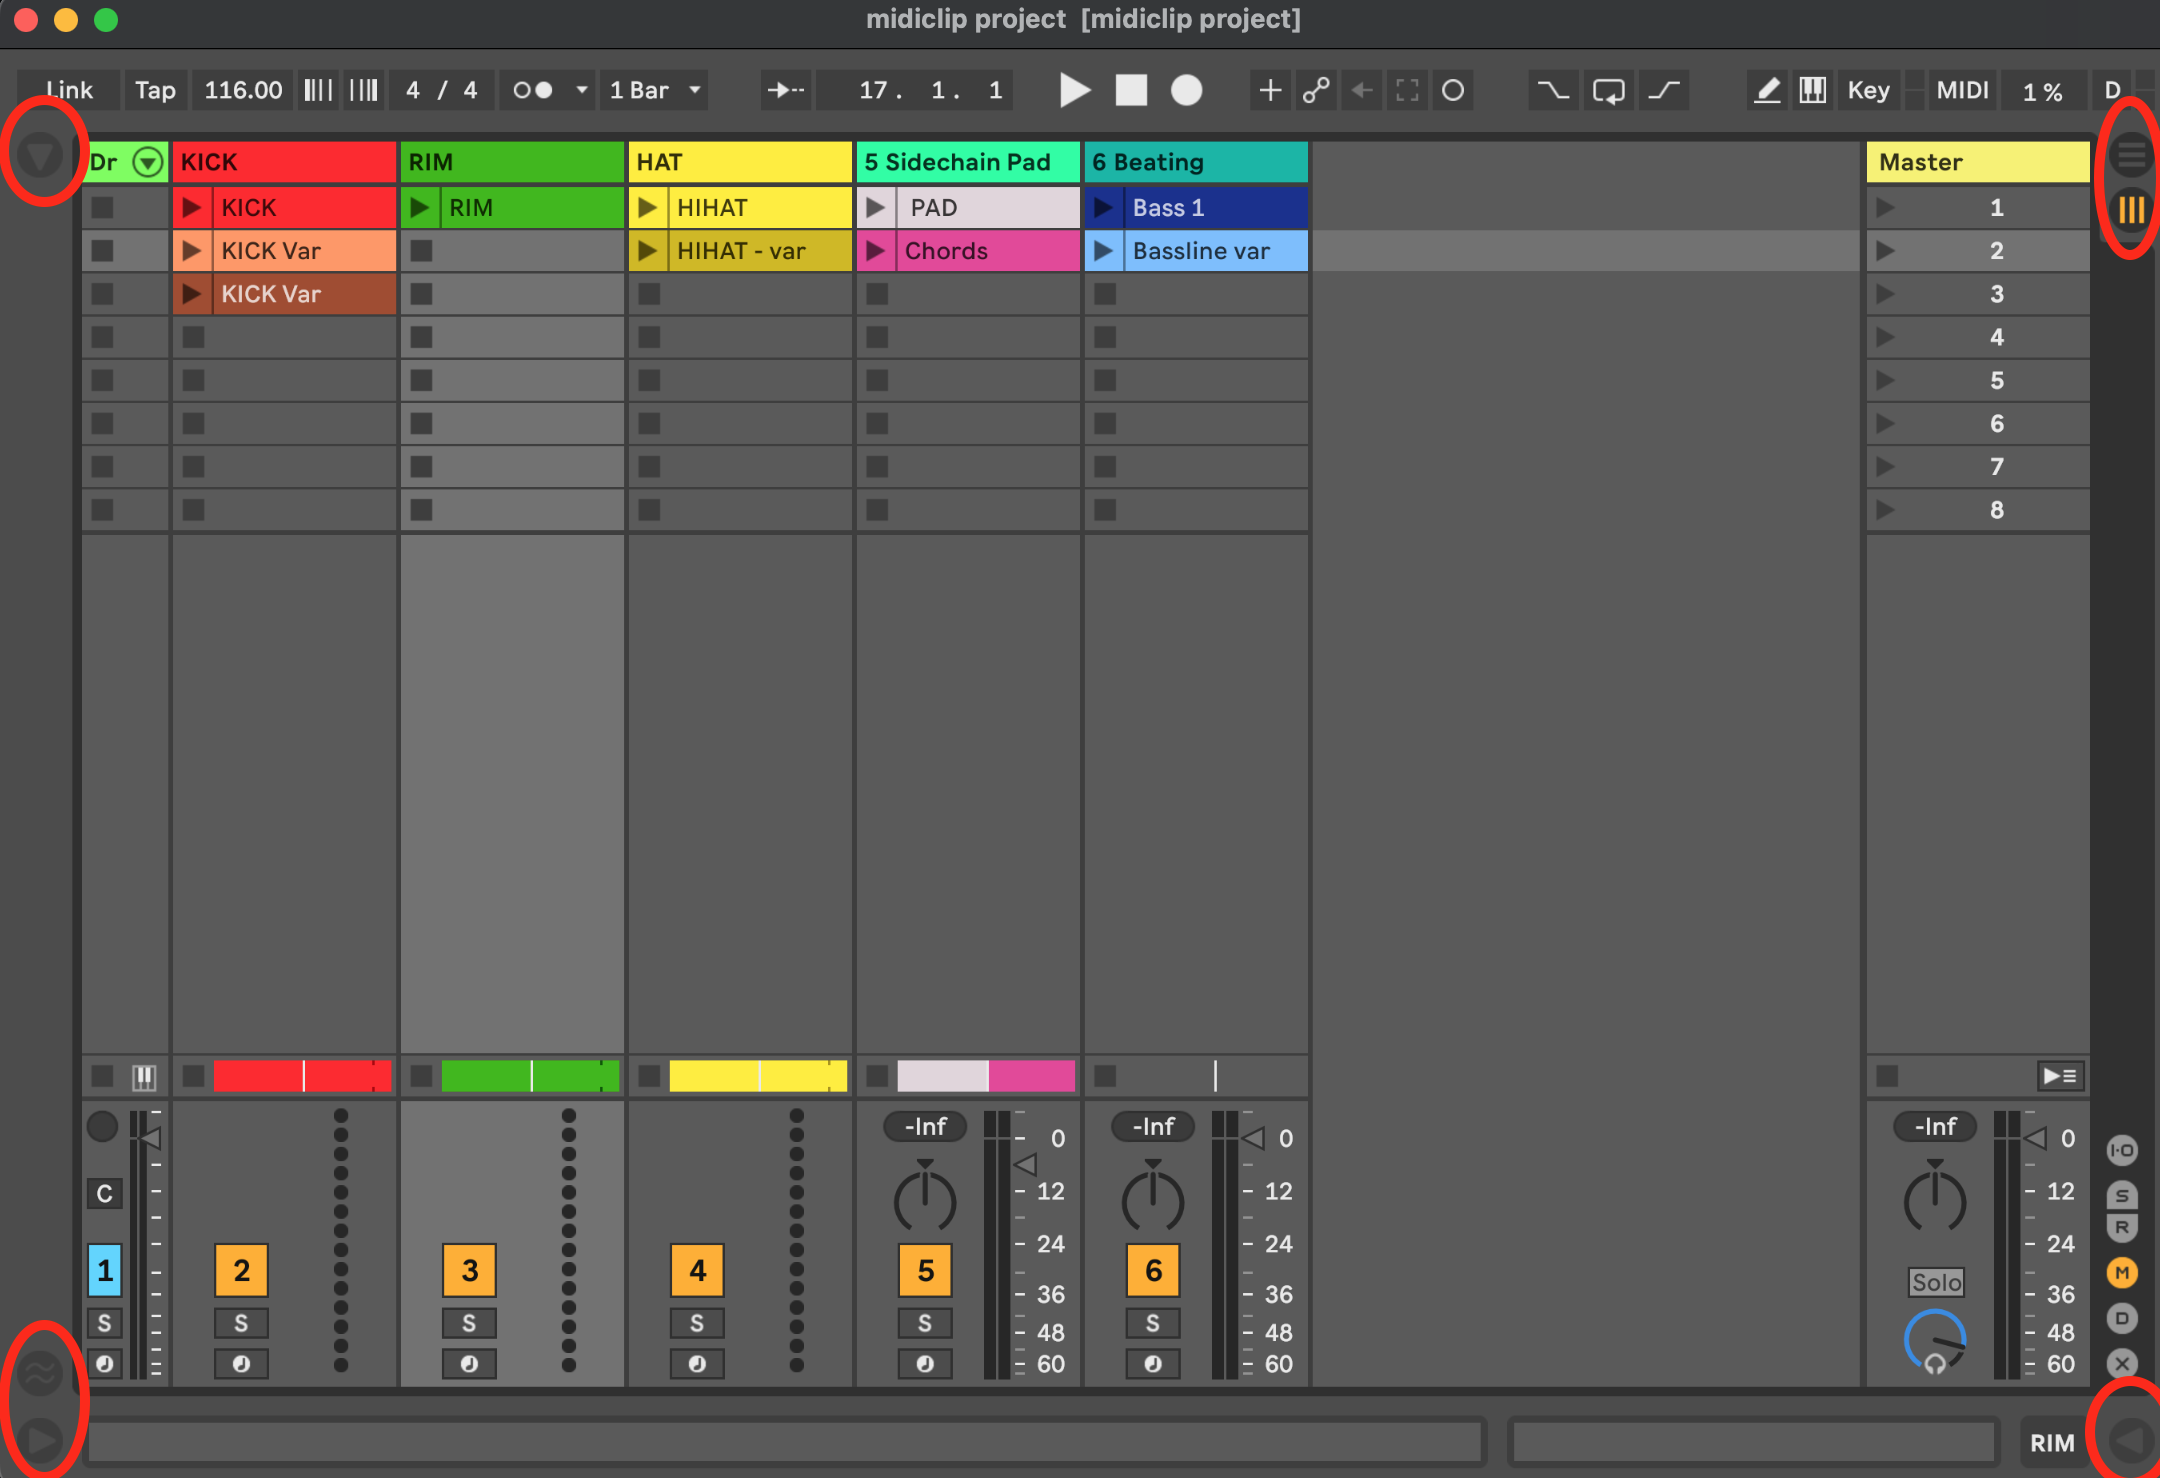
Let’s a have a quick tour of some of the elements of the user interface:
Top Row:
- Tempo & Tap
- Time Signature
- Click
- Play / Stop / Record
- Computer Midi Keyboard
arrows to open and close
- Browser (Top left)
- Session / Arrangement View (Top right)
- Info / Help view (Bottom left)
- Detail view (Bottom right)
Device / Clip View (Bottom right)
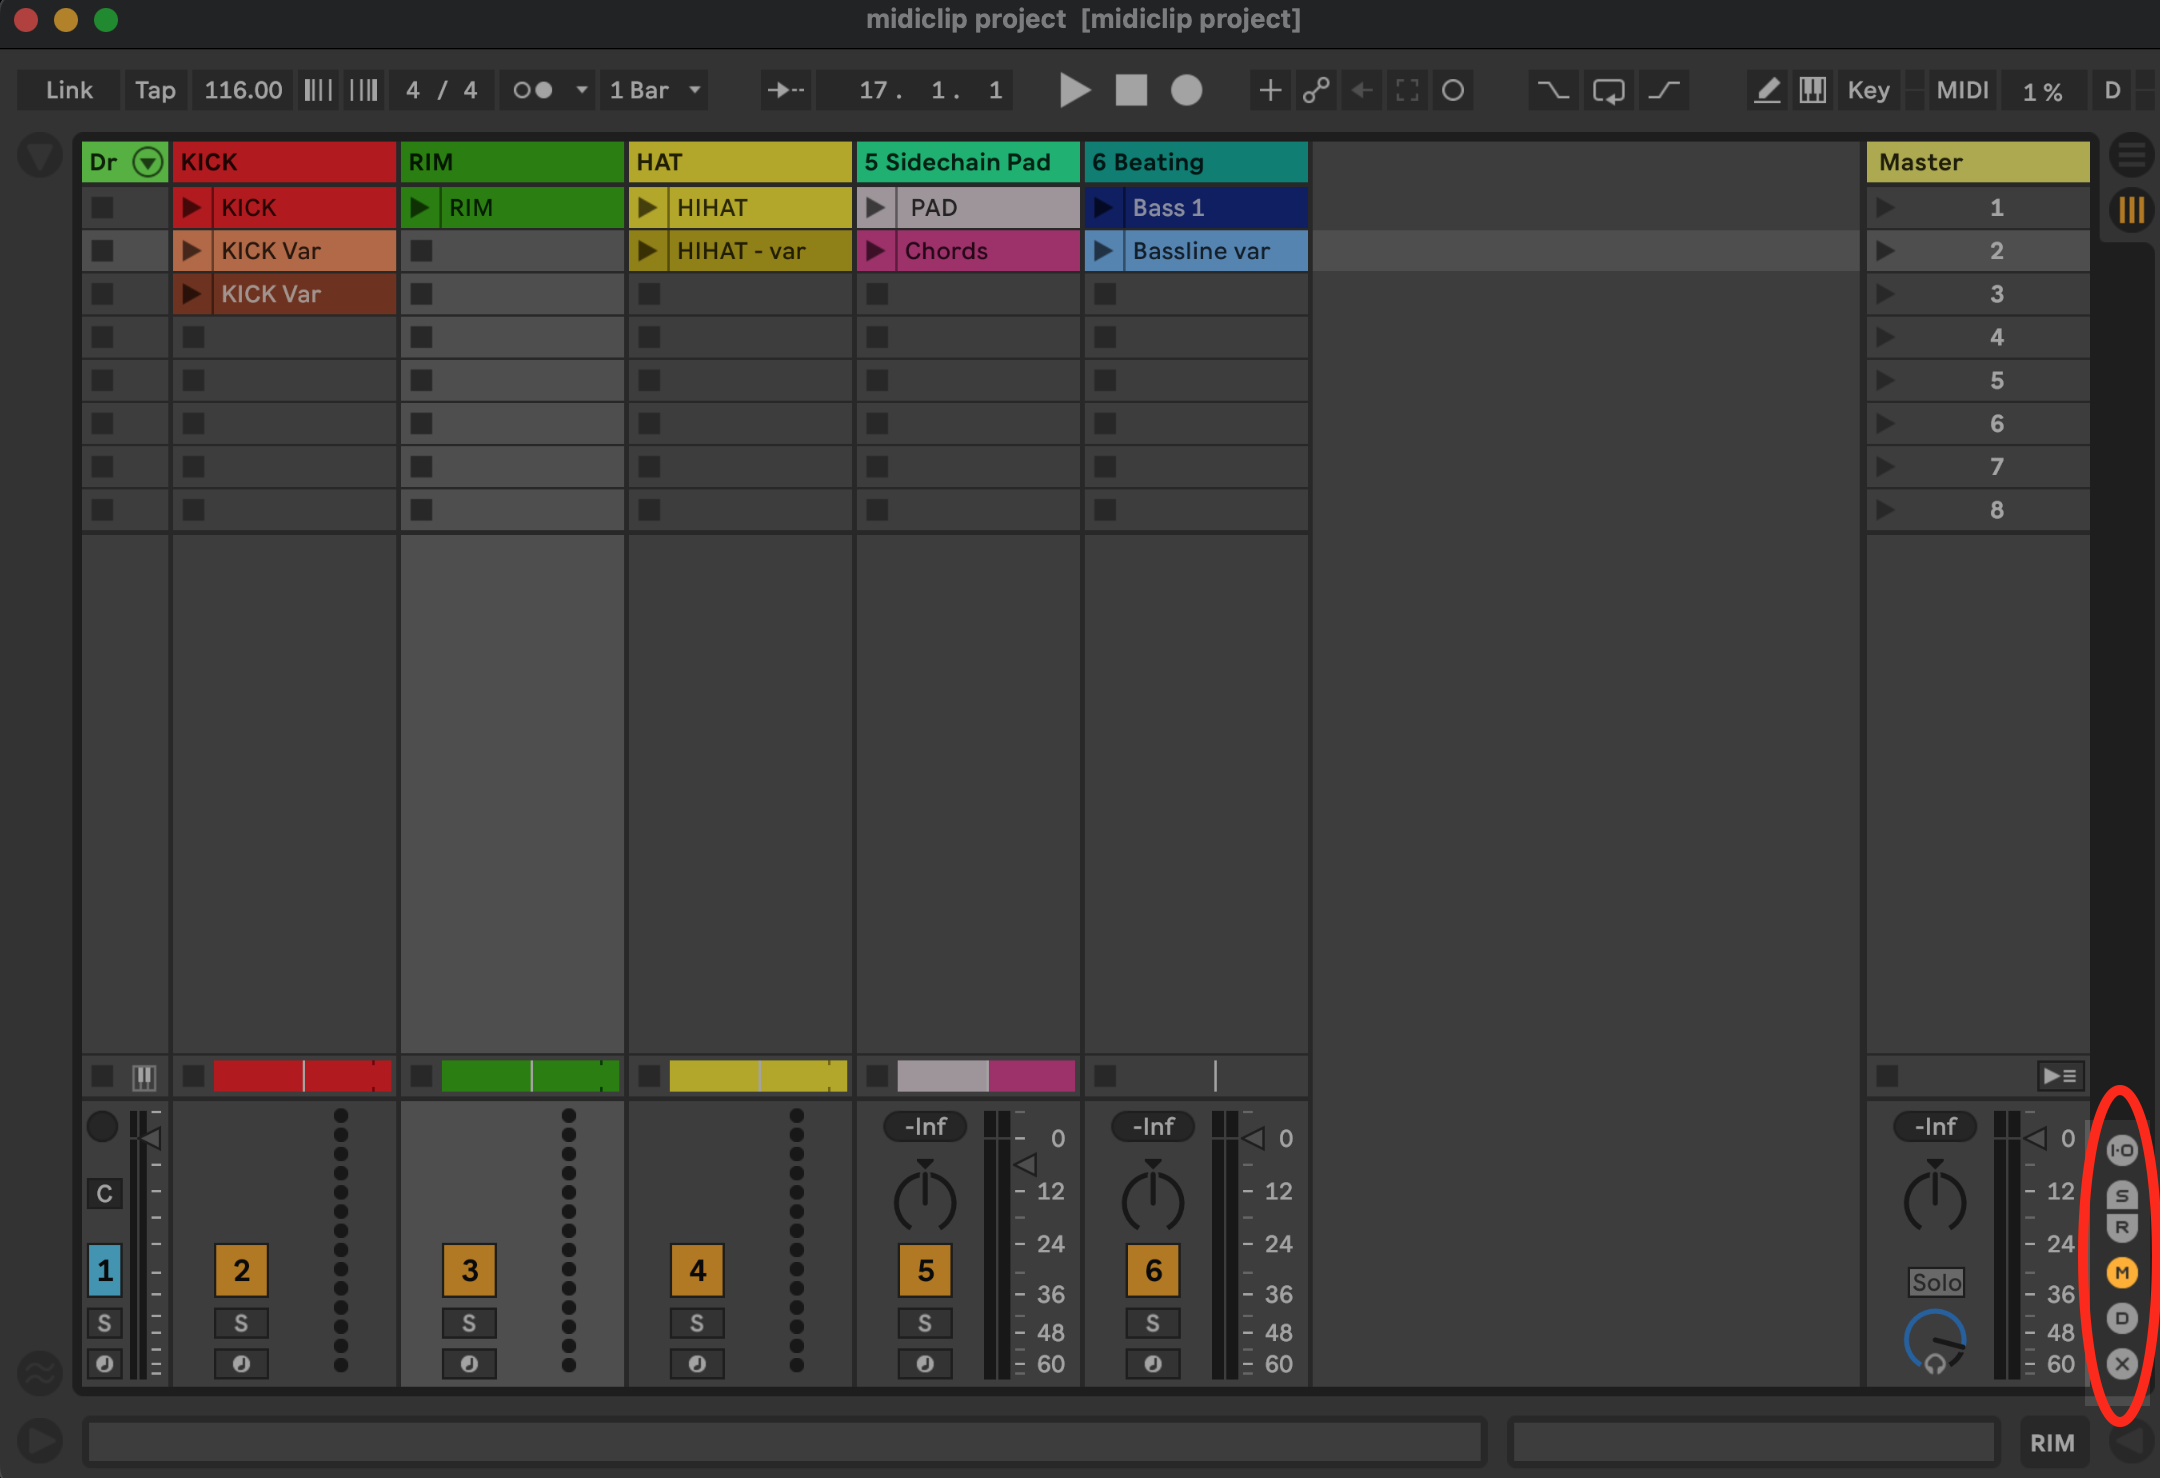
Show / Hide Mixer Elements:
- I/O Routing
- Send / Returns
- Mixersection (Fader / Pan / Mute / Solo / recordarm)
- (Track delay and crossfader)
Export Your Performance
Step 1: Set the Loop Brace
Position the loop brace to determine the beginning and end of the export and don’t forget to click it.
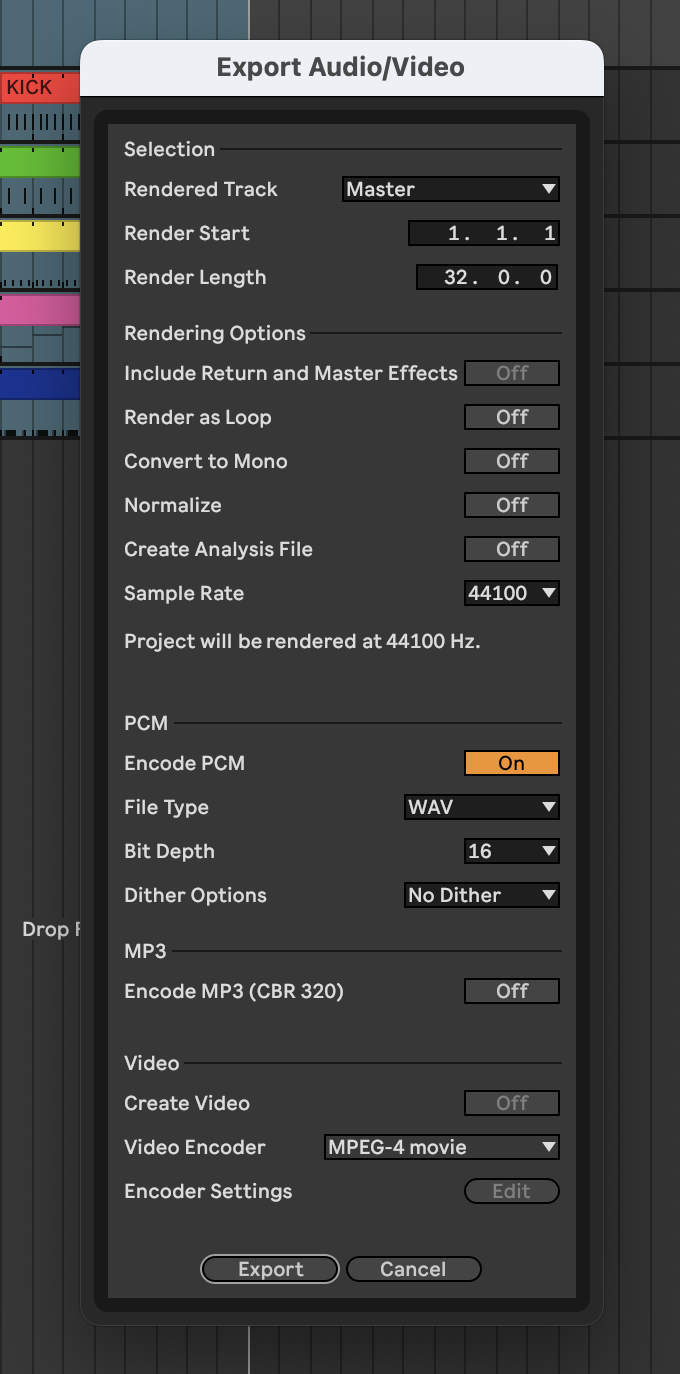
Step 2: Use File/Export Audio/Video Files
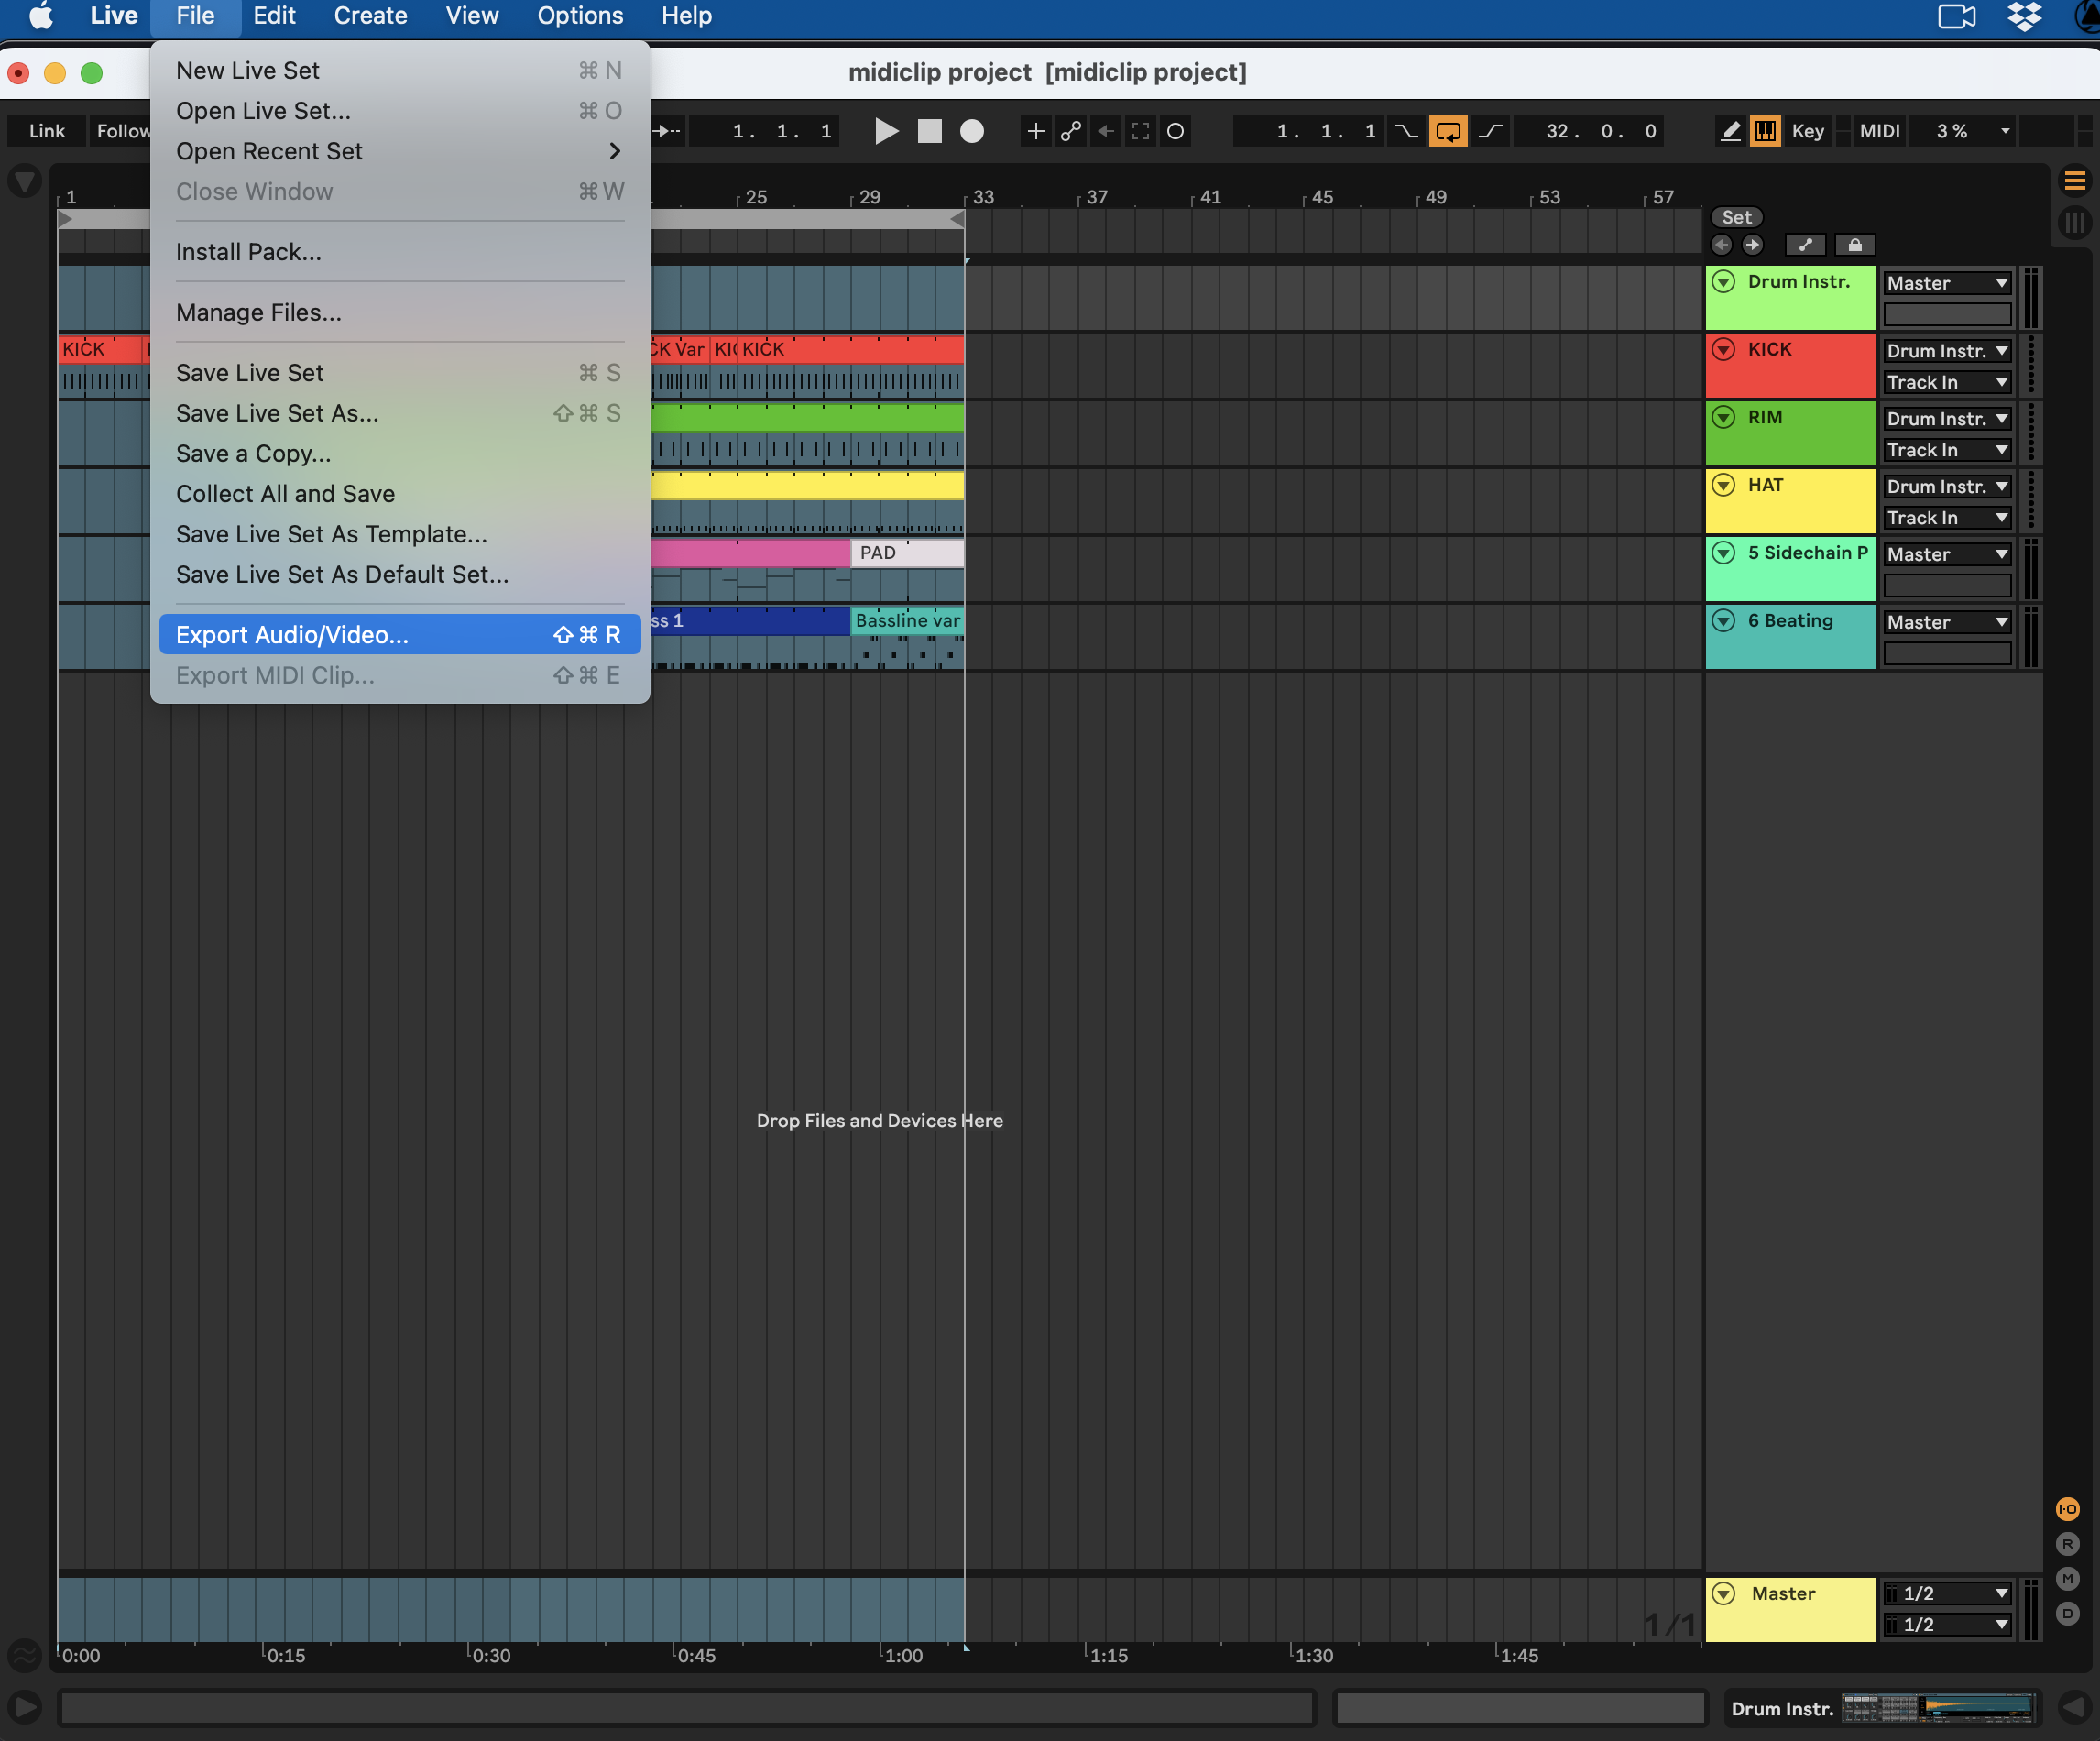
Export Audio/Video